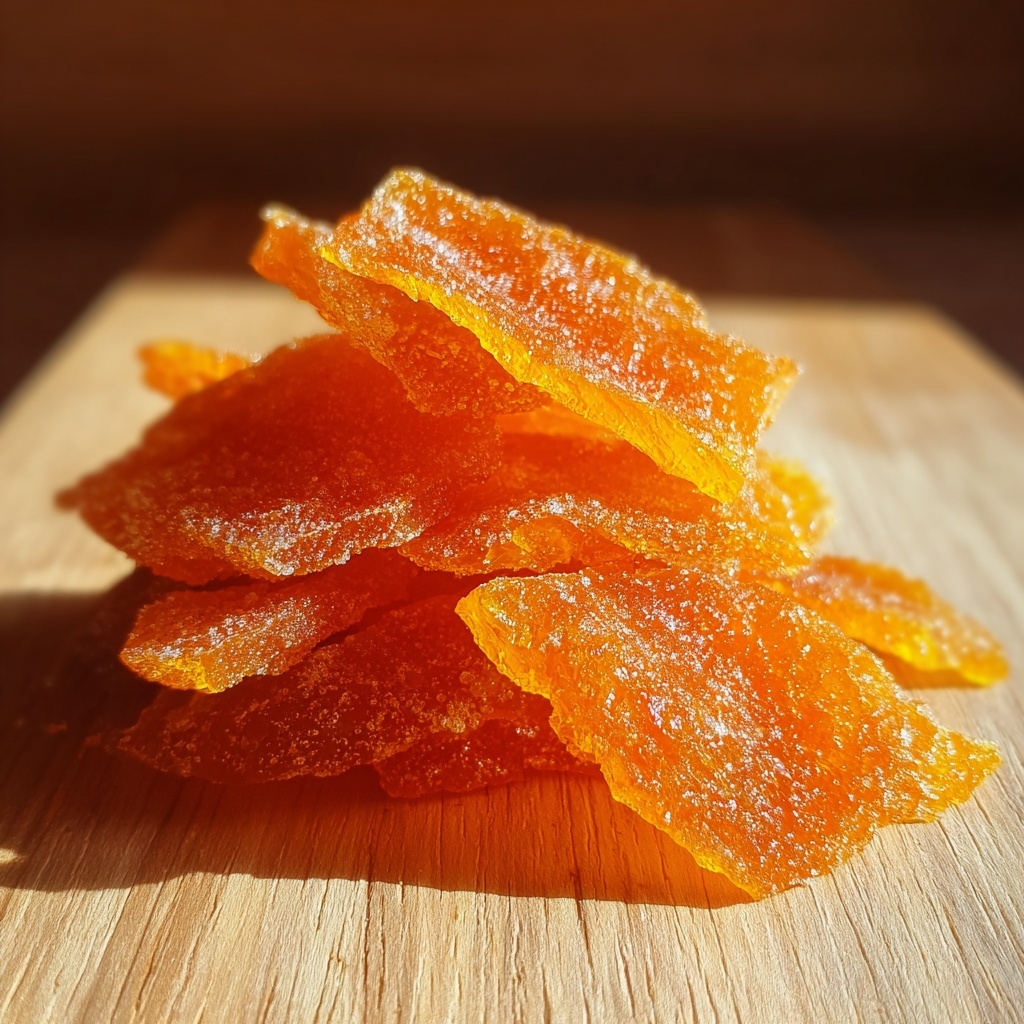
If you have a craving for something sweet with a bright, citrusy twist, this Orange Candy Recipe is an absolute must-try. Sweet, tangy, and bursting with fresh orange flavor, this homemade treat brings a playful chewiness and vibrant color that’s perfect for sharing or savoring on your own. It strikes the perfect balance between simple ingredients and a fun process that rewards you with candy that’s not just delicious but also a conversation starter. Whether you’re new to candy-making or a seasoned pro, this recipe will quickly become a beloved staple in your candy collection.
Ingredients You’ll Need
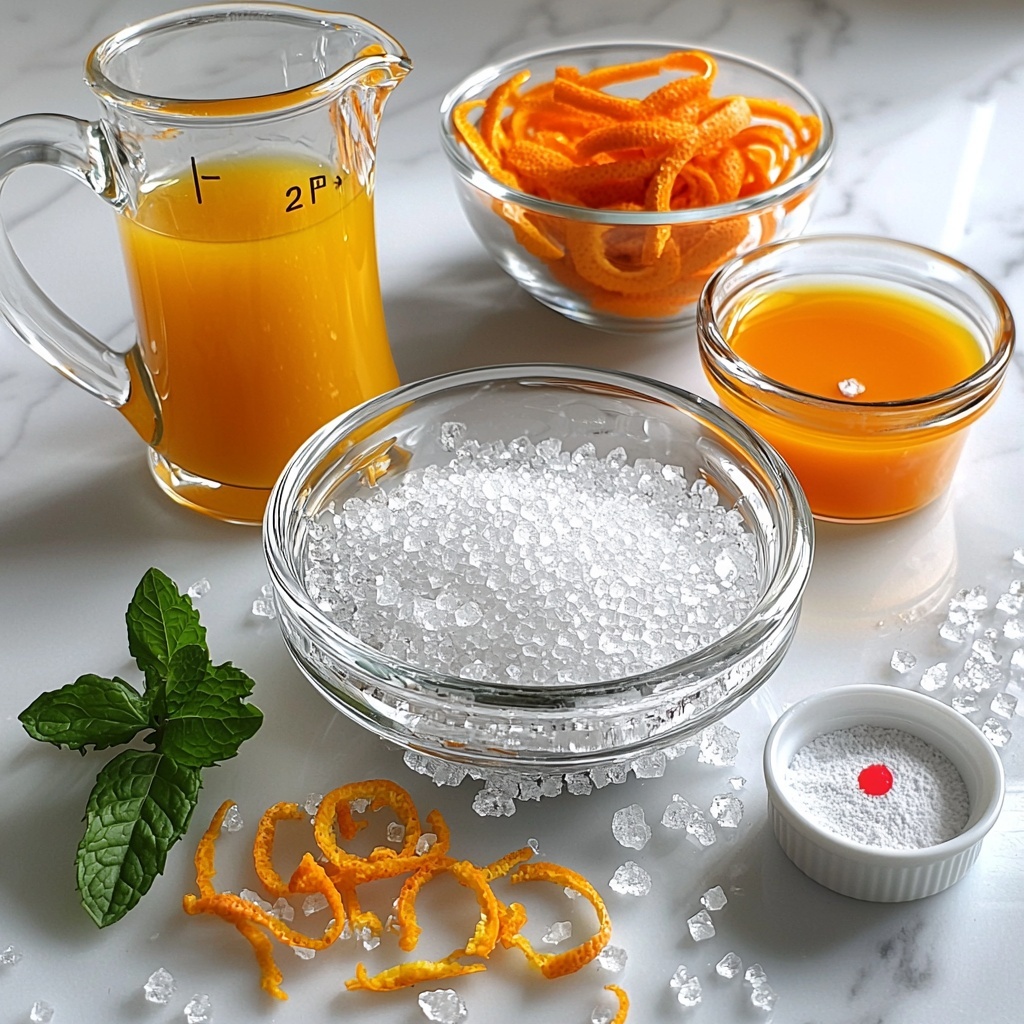
This Orange Candy Recipe keeps things straightforward with a few essential ingredients that create fantastic flavor and texture. Each component plays a vital role in building that irresistible chewy texture and bright, fresh orange taste.
- 2 cups sugar: The fundamental sweet base for your candy, providing structure and chewiness.
- 1 cup water: Helps dissolve the sugar and controls the consistency as it cooks.
- 1/2 cup orange juice: Adds natural citrus flavor and moisture, elevating the candy with freshness.
- 1 tablespoon orange zest: Infuses concentrated orange oil for an intense, aromatic punch.
- 1/4 teaspoon cream of tartar: Keeps the sugar crystals smooth to ensure a perfect chewy texture.
- 1/4 teaspoon food coloring (optional): Enhances the candy’s vibrant orange hue, making it visually delightful.
How to Make Orange Candy Recipe
Step 1: Combine Sugar, Water, and Cream of Tartar
Start by placing the sugar, water, and cream of tartar into a sturdy saucepan. This trio is the backbone of your candy, so be sure to stir gently while heating to dissolve the sugar completely before the mixture boils. This step ensures a velvety texture without graininess.
Step 2: Bring to a Boil and Dissolve Sugar
Bring the mixture to a medium heat and let it boil while stirring occasionally to fully dissolve the sugar. This careful heating is crucial to create the perfect syrup base. Once the sugar is dissolved, you’re ready to add the next star ingredients for flavor.
Step 3: Add Orange Juice and Zest, Boil to Hard Ball Stage
Stir in the fresh orange juice and zest, then let the candy boil without stirring until it reaches 250°F on a candy thermometer, known as the hard ball stage. Patience here is key—this precise temperature gives your candy that ideal chewy-but-firm texture.
Step 4: Remove from Heat and Add Food Coloring
Take your pan off the heat and, if using, stir in a drop of food coloring. This step is optional but highly recommended if you want your orange candy to look as vibrant as it tastes. The warm syrup will take on a new glow that’s simply irresistible.
Step 5: Pour Mixture and Let Cool Slightly
Carefully pour the hot syrup onto a greased baking sheet. Leave it for a few minutes to cool just enough so it’s safe to handle but still pliable. This is when the fun of pulling and shaping your candy begins!
Step 6: Stretch, Pull, and Lighten the Candy
Once the candy has cooled enough, start stretching and pulling it. This step aerates the mixture, turning it a lighter orange color and improving the texture to the chewy perfection that defines a great orange candy. It’s a hands-on process that’s so satisfying to see unfold.
Step 7: Cut into Pieces and Cool Completely
Finally, slice the pulled candy into bite-sized pieces and allow them to cool fully on the baking sheet. Once hardened, your homemade orange candies are ready to enjoy or package as delightful treats for friends and family.
How to Serve Orange Candy Recipe
Garnishes
While the orange candy shines wonderfully on its own, adding a sprinkle of extra orange zest or a light dusting of powdered sugar can enhance its presentation and add a touch of elegance perfect for gifting or display.
Side Dishes
Pair your orange candy with a cup of strong black tea or a sparkling citrus soda to complement its bright flavors. The balance of sweet and tangy is especially enjoyable alongside something crisp and refreshing.
Creative Ways to Present
Think beyond just placing the candies in a bowl. For parties, wrap pieces in small parchment squares tied with a ribbon, or display them in clear jars to showcase their glowing orange beauty. They also make charming additions to dessert trays or gift baskets.
Make Ahead and Storage
Storing Leftovers
Your orange candy keeps best stored in an airtight container at room temperature. This will preserve its chewy texture and vibrant flavor for up to two weeks, so you can enjoy the fruits of your labor gradually without rush.
Freezing
While not typically necessary, you can freeze the candies in a sealed bag for longer storage. Just allow them to thaw at room temperature before eating to bring back their perfect chewiness without becoming sticky.
Reheating
If your candies become too hard, a quick warm-up in your hands or a very short, low-power microwave session can soften them slightly. Be careful not to overheat, or they may melt too much.
FAQs
Can I use bottled orange juice for this recipe?
Yes, bottled orange juice works fine, but fresh juice and zest will provide the brightest, most natural flavor for your Orange Candy Recipe.
Why is cream of tartar important in making orange candy?
Cream of tartar prevents sugar crystals from forming during cooking, which keeps the candy smooth and chewy instead of grainy.
Can I substitute the orange juice with another citrus?
Absolutely! Lemon or grapefruit juice can be used for a fun twist, but they will change the characteristic flavor that makes this an Orange Candy Recipe.
Should I stir while the candy is boiling after adding orange juice?
No, once the orange juice and zest are added, avoid stirring to prevent crystallization. Let the mixture boil undisturbed until it reaches the correct temperature.
How do I know when the candy has reached the ‘hard ball stage’?
The ‘hard ball stage’ is at 250°F. If you don’t have a candy thermometer, you can test by dropping a bit of syrup into cold water—it should form a hard ball that holds its shape but is still pliable.
Final Thoughts
This Orange Candy Recipe is such a delightful way to bring a burst of sunshine to your sweet treats. It’s fun, straightforward, and the results are incredibly rewarding. Whether you’re making them for yourself or as a thoughtful, homemade gift, these chewy, flavorful candies are sure to bring smiles and a touch of citrus bliss. Give it a try—you won’t regret it!
Print
Orange Candy Recipe
- Prep Time: 10 minutes
- Cook Time: 25 minutes
- Total Time: 35 minutes
- Yield: 20 servings
- Category: Dessert
- Method: Stovetop
- Cuisine: American
Description
This classic Orange Candy recipe yields a sweet, tangy treat bursting with citrus flavor. Combining sugar, orange juice, and zest, this candy is cooked to the hard ball stage and then pulled to create a light, airy texture. Perfect as a homemade confection to share or enjoy as a delightful citrus-flavored sweet.
Ingredients
Ingredients
- 2 cups sugar
- 1 cup water
- 1/2 cup orange juice
- 1 tablespoon orange zest
- 1/4 teaspoon cream of tartar
- 1/4 teaspoon food coloring (optional)
Instructions
- Combine ingredients: In a medium saucepan, mix together the sugar, water, and cream of tartar. Stir the mixture gently to combine the ingredients evenly before heating.
- Bring to boil: Place the saucepan over medium heat and bring the mixture to a boil, stirring occasionally until the sugar completely dissolves to ensure a smooth syrup base.
- Add orange flavor and boil to hard ball stage: Stir in the orange juice and orange zest, then continue boiling the mixture without stirring until the temperature reaches 250°F (hard ball stage) on a candy thermometer, which is essential for achieving the right candy consistency.
- Add color and remove from heat: Remove the saucepan from heat and, if desired, add the food coloring to enhance the visual appeal of the candy.
- Pour and cool slightly: Carefully pour the hot candy mixture onto a greased baking sheet, spreading it evenly. Let it cool until it is safe to handle but still pliable.
- Stretch and pull the candy: Once the candy has cooled slightly, begin stretching and pulling it repeatedly until it becomes lighter in color and develops a glossy, airy texture typical of pulled candy.
- Cut and cool completely: Cut the pulled candy into desired pieces and allow them to cool entirely on the baking sheet before serving or storing.
Notes
- Use a candy thermometer to accurately monitor the temperature; reaching the hard ball stage is crucial.
- If you do not have a candy thermometer, test candy by dropping a small amount in cold water to check if it forms a hard ball.
- Wear oven mitts or use caution when handling hot sugar syrup to avoid burns.
- For best results, use fresh orange juice and zest to maximize citrus flavor.
- Food coloring is optional and can be matched to orange or left out for a natural look.
- Store the finished candy in an airtight container at room temperature to maintain texture and freshness.


